


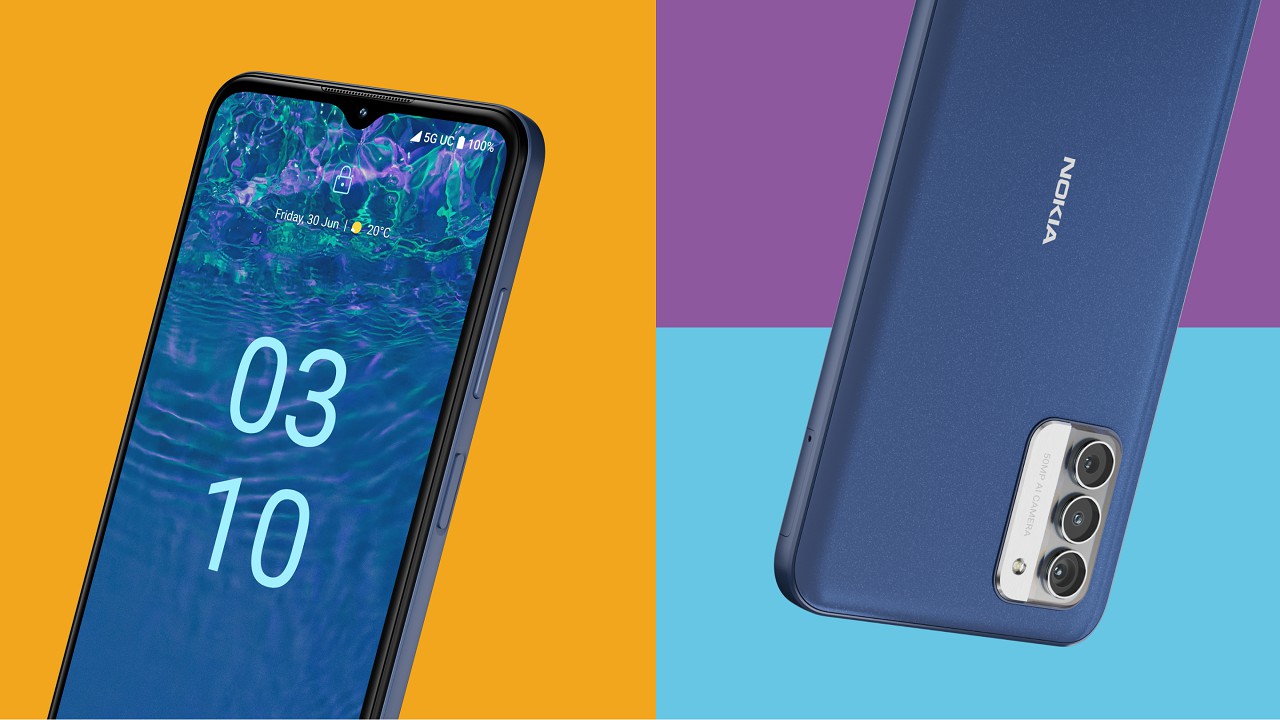
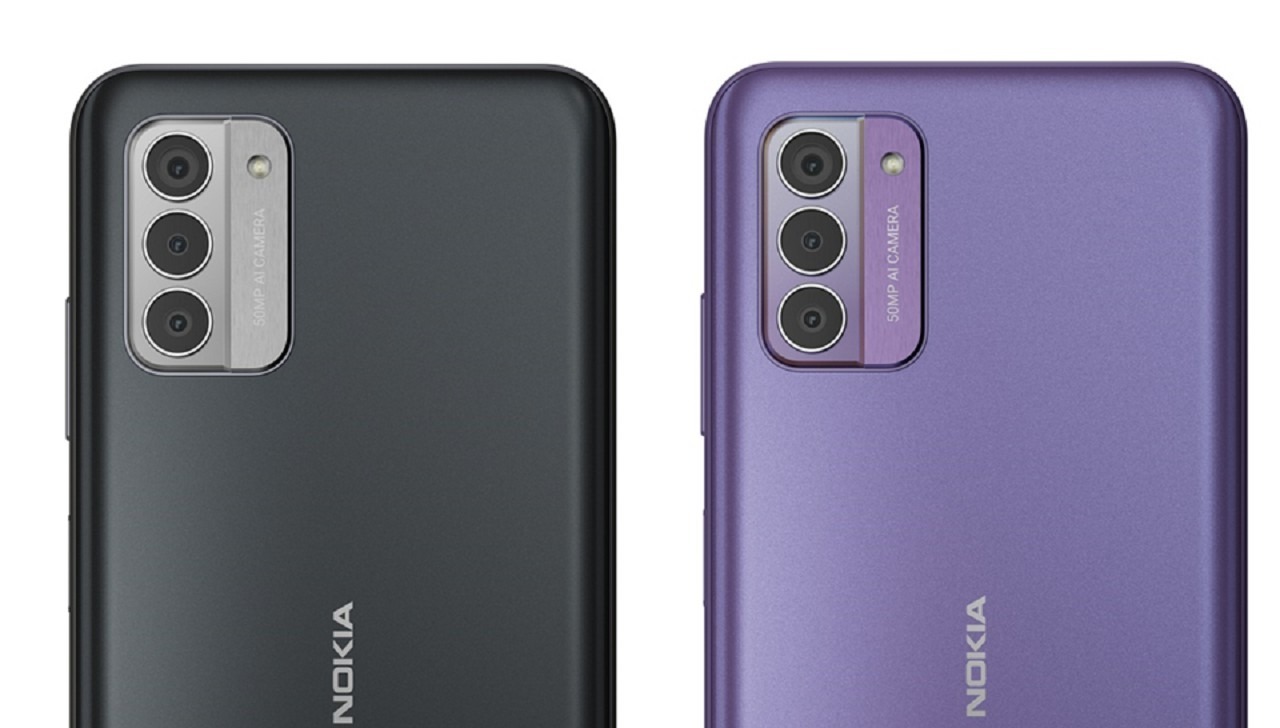
On the camera department, the 7.2 comes with a triple rear camera setups, arranged into a protruded ring circuit. The sensor used include a primary 48-megapixel camera with PDAF and f/1.8 aperture, along with a secondary 5-megapixel depth sensor, and yet another 8-megapixel ultra-wide angle lens. If you care for selfie sensors upfront, then the count get reduced to a single 20-megapixel snapper with f/2.0 aperture.

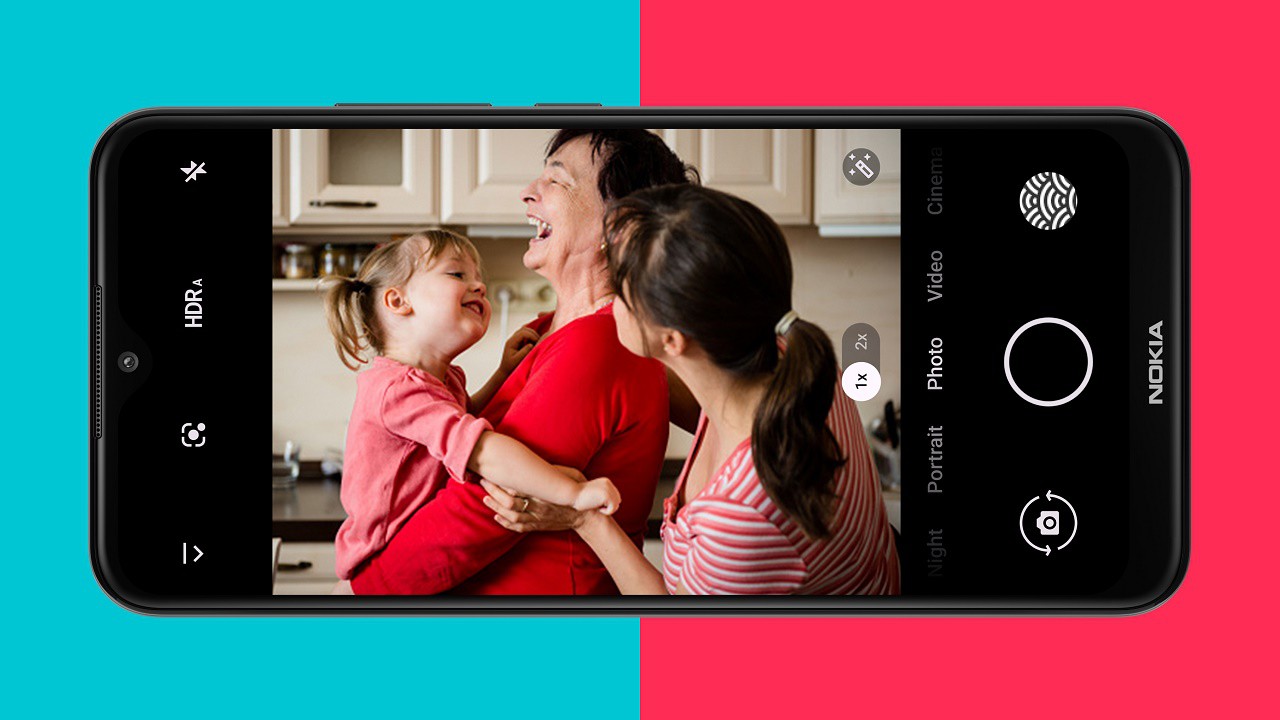
The camera interface is much same like most camera UI you might have seen in recent phones. The standard mode offers options like motion tracking, single or dual camera mode, self-timer and HDR. But if you wanna control things like white balancing, ISO (100-3200) among others, then you are better off in the pro mode.
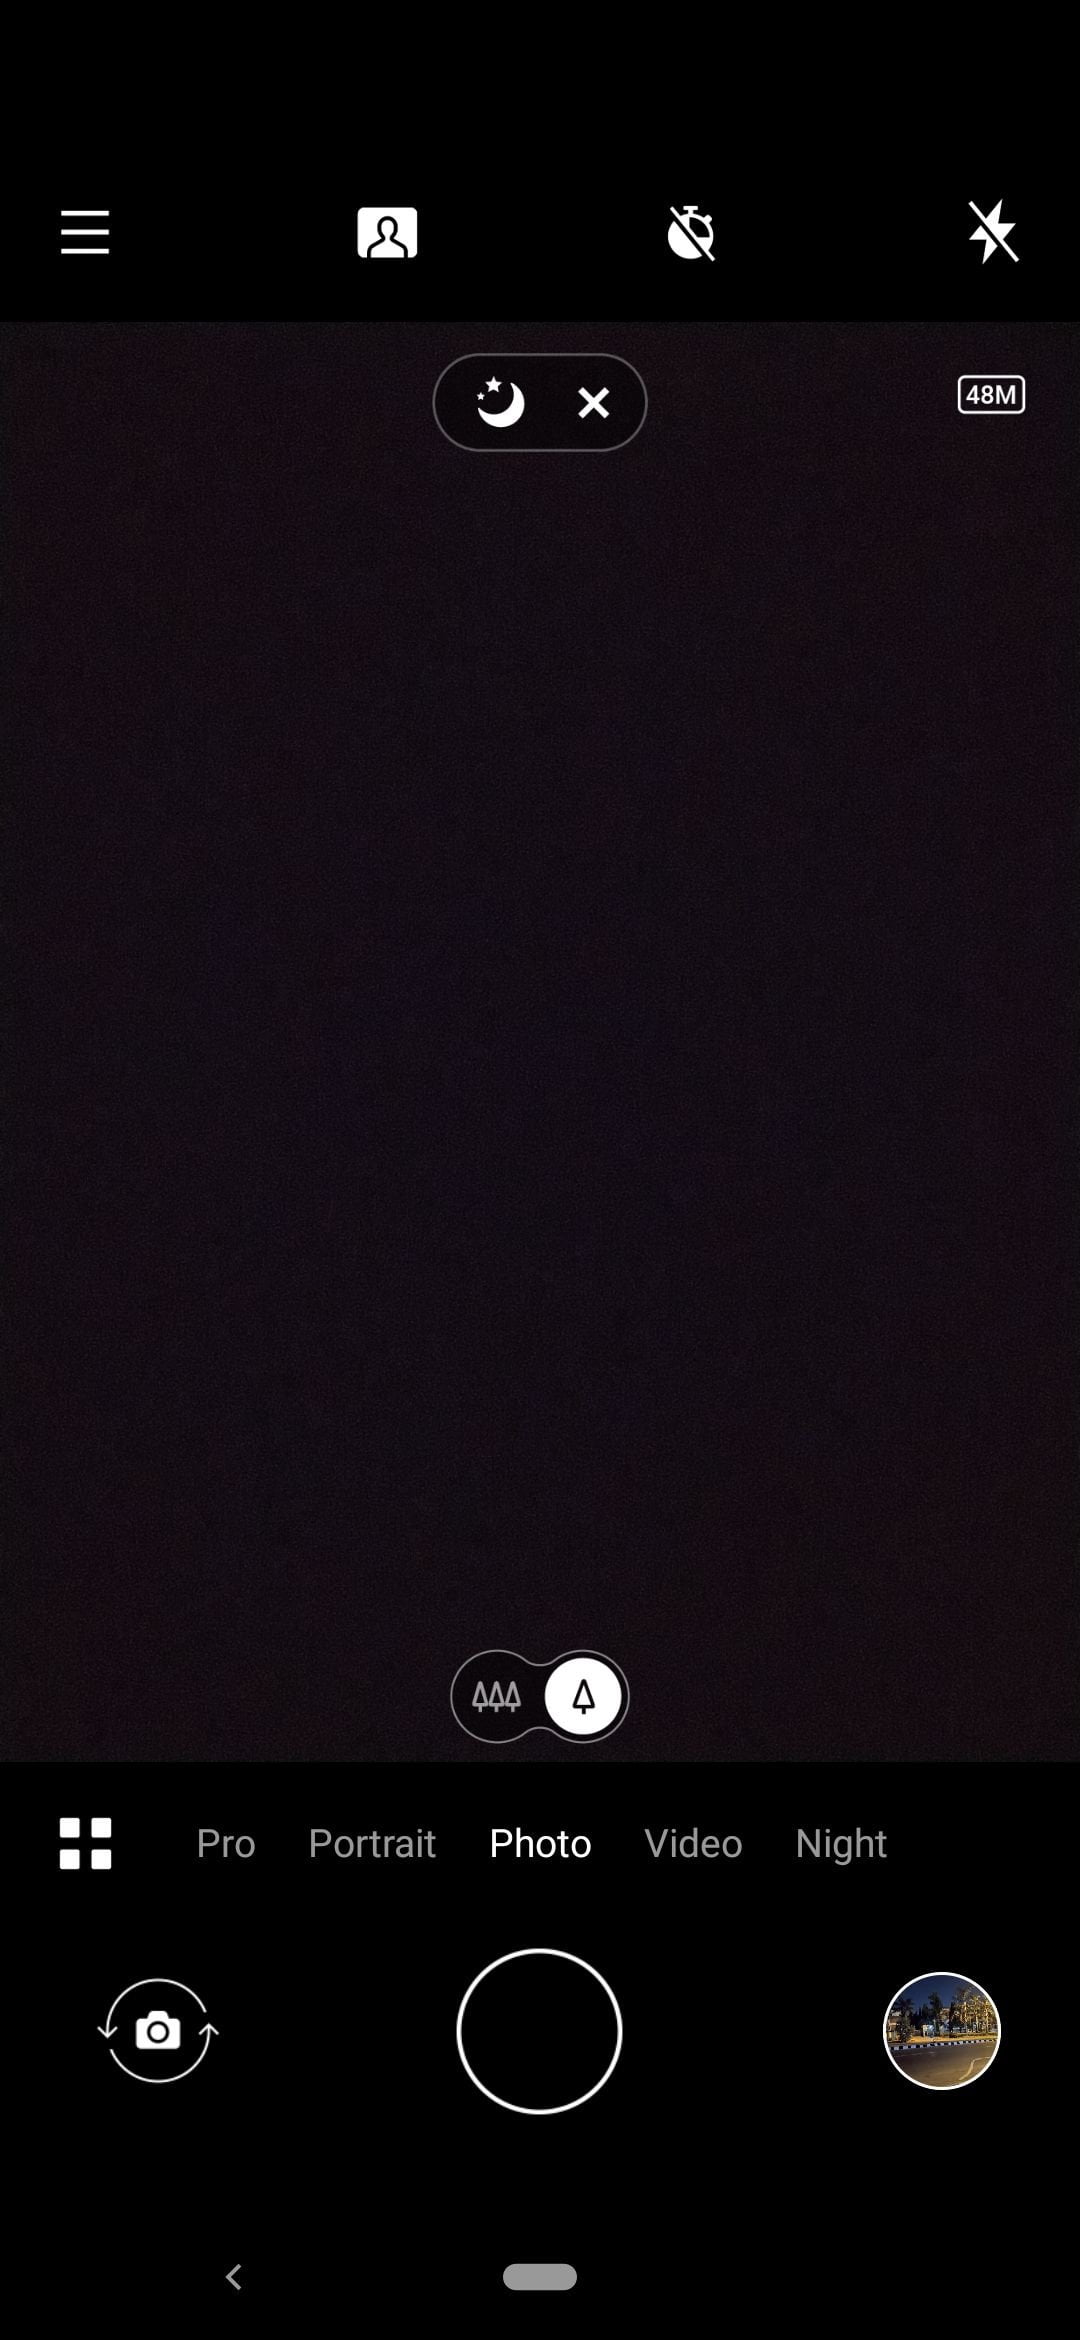
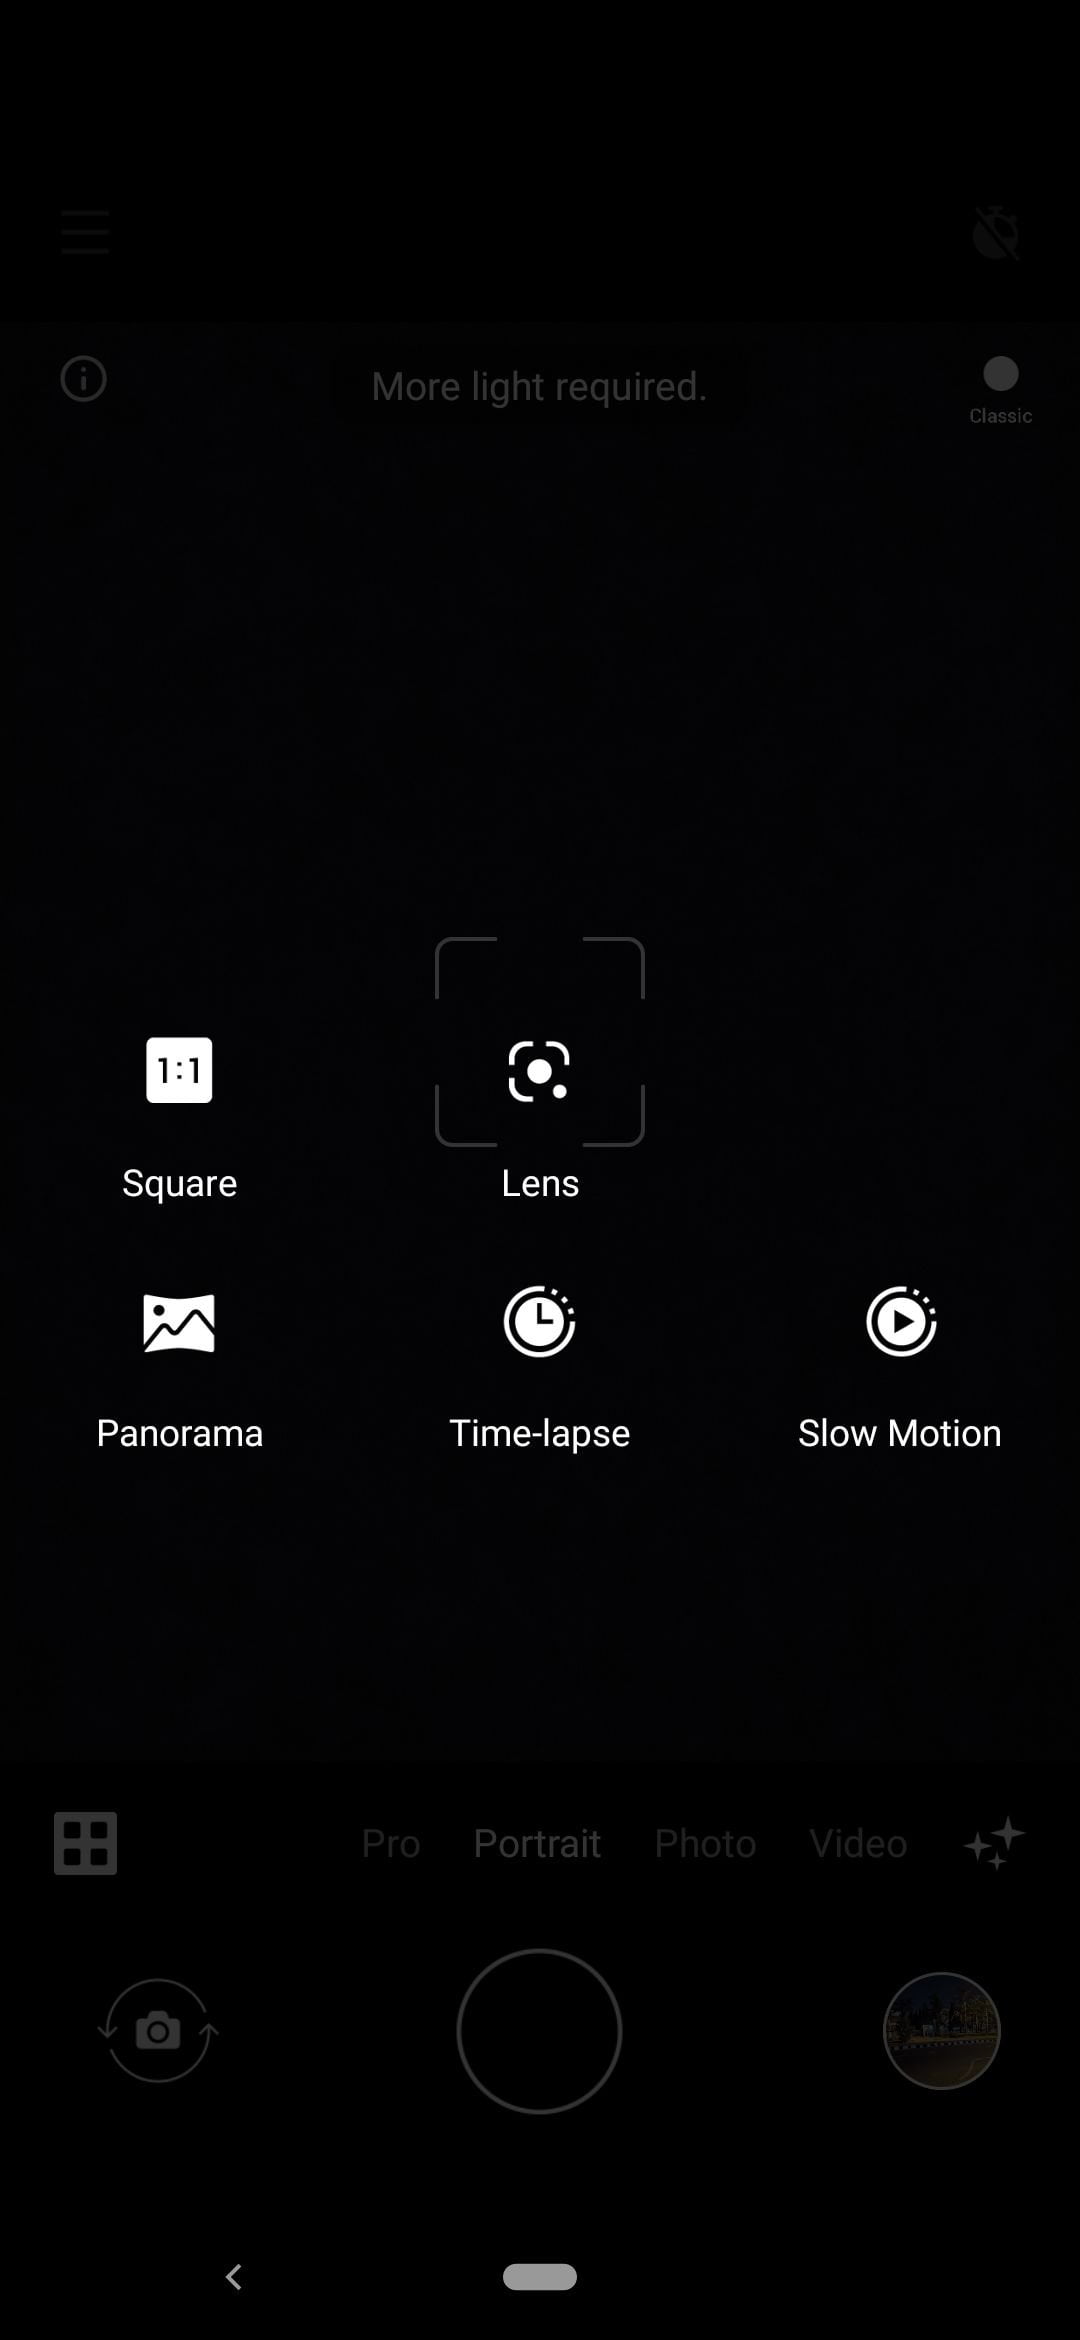
You can also use the device in Time-lapse mode, Panorama, Slow motion mode, among others. By default, the device is predefined to shoot images and videos at 12-megapixel resolution. But if you need the full goodness of your 7.2 camera, you can change the resolutions from the camera setting. The phone can also shoot videos in both Full-HD and UHD resolution, all of which you can change from the setting.
Nokia 7.2 Camera Test and Samples
So I took the Nokia 7.2 on a tour for a spin, and if you are not expecting to see the eyeballs of a flying bird in the sky, then you won’t be disappoint. All our shots in day light turned great.
The above picture was a point and shoot sample, without anytime wasted on focusing, or I should rather say the camera auto focus is doing it job pretty well. Nothing feels great knowing that you could easily pull out your smartphone, point and shoot at any object anytime without having to worry much on focusing.
All sample images captured in full day light were super bright with accurate color reproduction. More camera samples are added below.


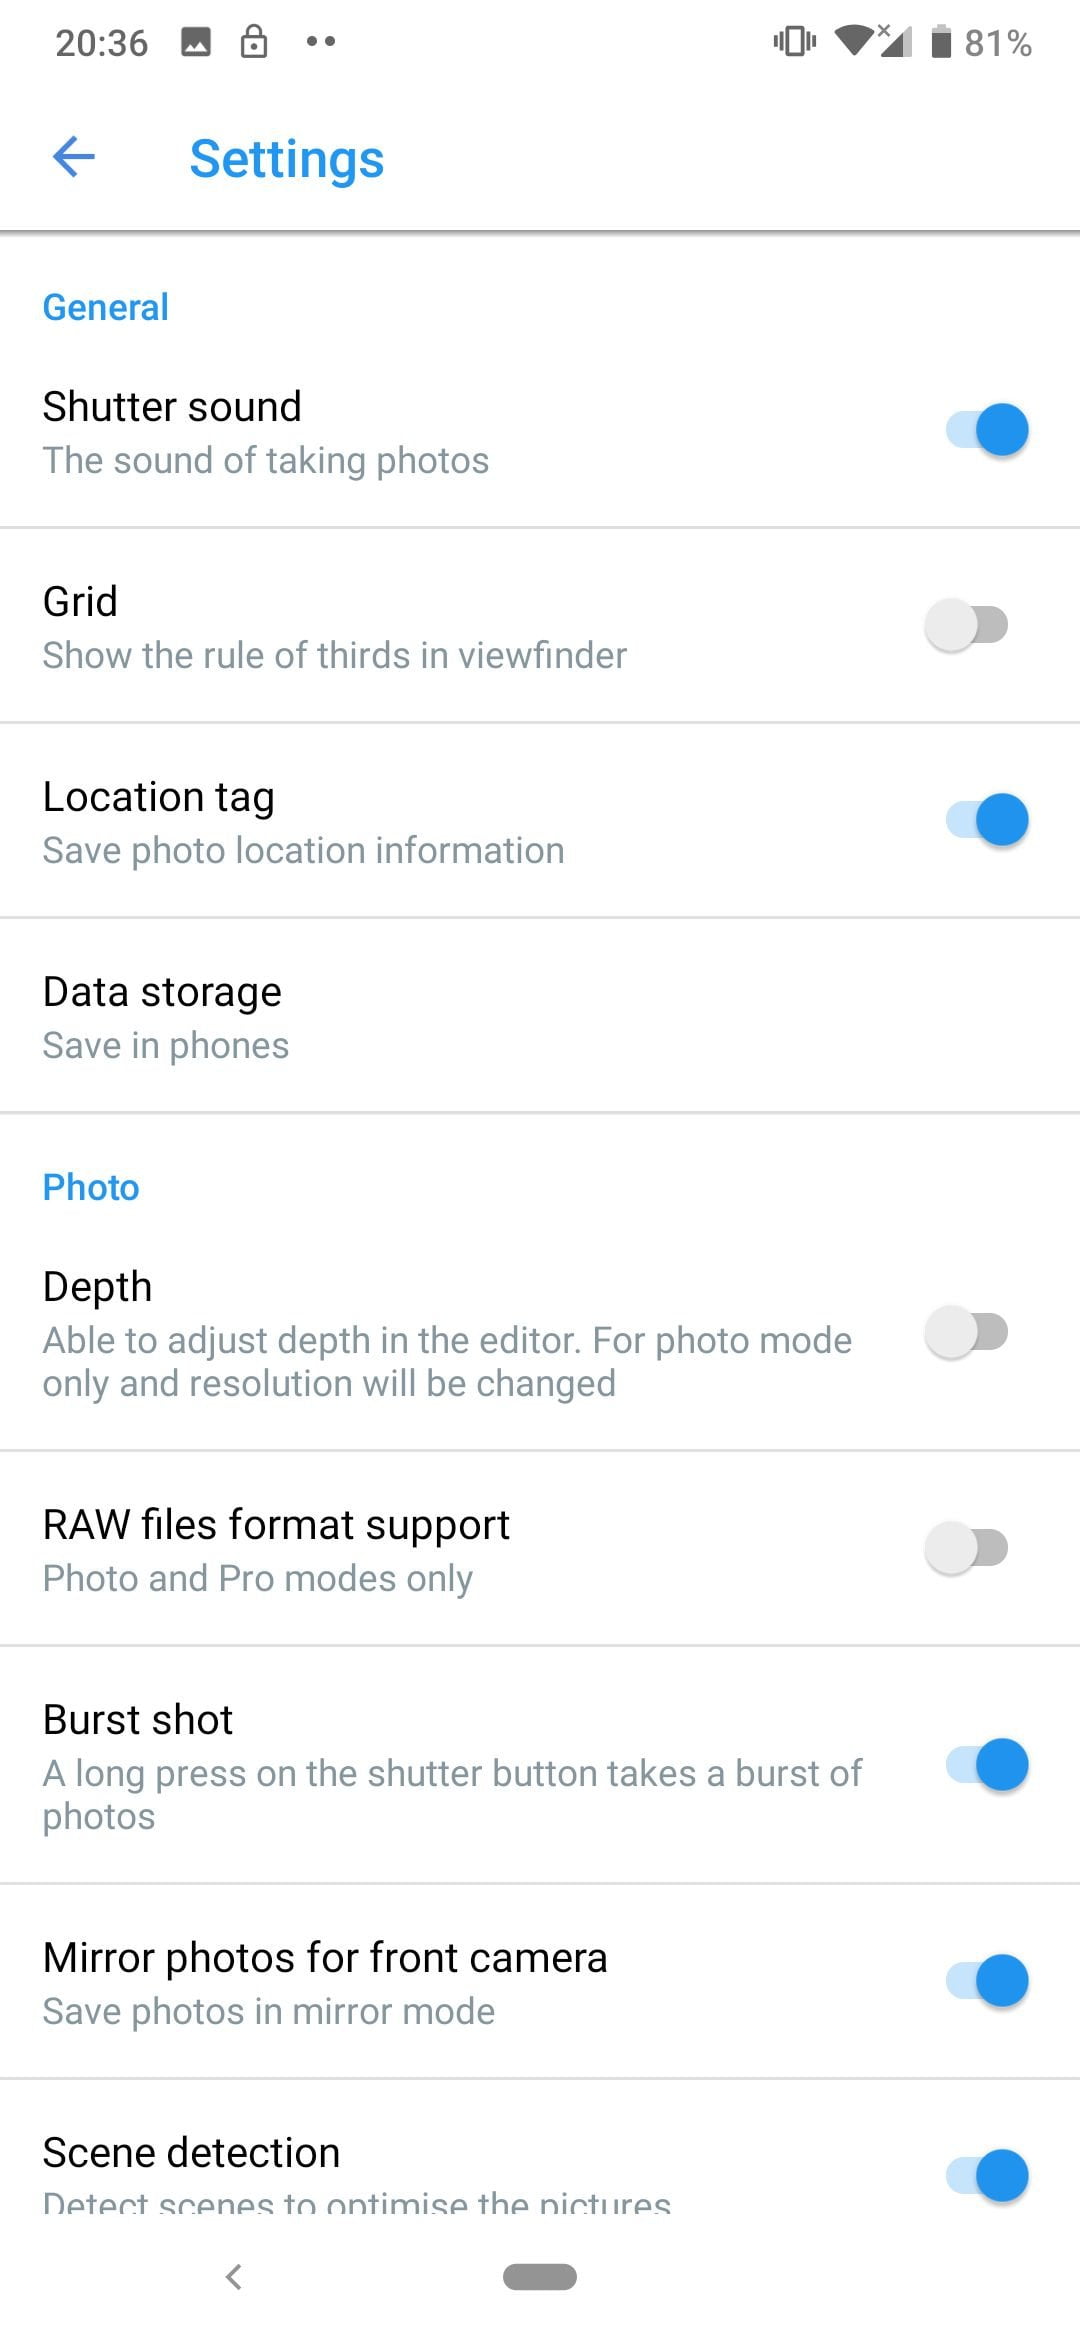
As mentioned before, the 7.2’s rear camera is predefined to take images at 12-megapixel image resolutions, which you can either reduce to a lower pixel resolution, or expand to the full 48-megapixel resolution from the camera settings.
It important to note however, that the higher the megapixel (higher resolution), the larger the image size in megabyte. While a shot on 12-megapixel resolution stays mostly under 5 or 6MP, a single shot with the full sensor size can reach as high as 15MP or even more.
While shooting at a lower res will generally save your storage, you might still want to shoot at the full 48MP res, especially if you are shooting objects at reasonable distance. For example, the images above were taken from same spot, with the 48MP version being larger of course. You might not notice much difference between the two shot with a single look, but if you want to look deeper, by zooming to the name on the building, the 48-megapixel sensor will definitely feel more appealing as shown below.


The 12MP version had to be zoomed deeper to get that write up, leading to a major drop in sharpness and increased noise. Also, you might need to always keep the camera HDR always in automatic mode to ensure best shot at all time. I put the HDR on, on one shot, then off on the other, and the difference was fairly much depending on the lighting condition though. See samples below.

Night Shots, Portrait and Selfie
When taking photos at night, you can either use normal Photo Mode, or switch to the dedicated Night Mode. In either case, the camera was able to take-in sufficient light to aid clearer image output. But depending on the available light, I might prefer shooting more in normal photo mode even at night than the bundled night mode as color tone seems off on some images shot in the night mode.


In either case, the device is still able to produce crisp images at night, so long as you are not expecting image quality of a DSLR or even the likes of Huawei Mate 30 Pro or even the Apple iPhone 11 Pro. More night samples below.

As for the bundled 20-megapixel selfie sensor, you can be very sure of great images in a well lighted environments, or even in full day light. If you wish to use the selfie at night times, you’ll get soft light supplied from the display, but that won’t help much.
Finally, I tried out portrait mode, and I thing the 5-megapixel depth sensor did it job pretty well. In full day light, the device was able to pay full attention to the area of focus, while silencing the world around. While this is definitely not the best Bokeh we’ve seen on a smartphone, it is a welcome effort from a mid-ranger.


Battery Performance
The Nokia 7.2 shipped with a non-removable, non-extendable 3500mAh battery. I tried a more realistic battery performance both in indoor and out door use, and got distinct results; the battery get sapped out more faster in outdoor use, than in indoor use, especially when screen brightness is set to auto.
But during indoor use, the battery last fairly well. In either case, you should get a full day of use, which means charging the device every night after work. Talking about charging, the phone comes with a 5V-2A, 10W rated charger. And even without the help of the charger, using just the USB cable is still able to get the device from 0% to 100% within 1.5 Hr.


I have some expectations from the Nokia 7.2. Will we see its launch in nigeria?
Do you mean Nokia 7.2 or Nokia 7.3? 7.2 is already available across Nigeria. You can even get it via Nokia’s official store on Jumia at 114K
Do you mean Nokia 7.2 or Nokia 7.3? 7.2 is already available across Nigeria. You can even get it via Nokia’s official store on Jumia at 114K
I have some expectations from the Nokia 7.2. Will we see its launch in nigeria?